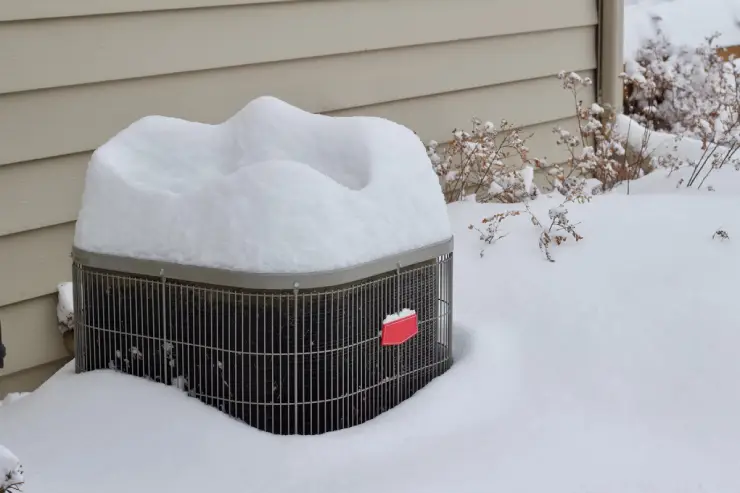
When was the last time you had your furnace checked? If you’re experiencing inconsistent heating, strange noises, or skyrocketing energy bills, it might be time to consider replacing your furnace. Installing a new furnace is a significant home improvement investment, and understanding what to expect during a furnace installation can help ease any concerns.
Furnace installation can seem like a daunting process, but knowing what to expect can make it more manageable. Whether you’re installing a furnace for the first time or replacing an outdated system, understanding the steps involved will help you prepare. In this guide, we’ll walk you through every aspect of the furnace installation process, including what happens before, during, and after installation. Keep reading to learn how to ensure a smooth, stress-free furnace installation!
Why Furnace Installation is Essential
Before diving into what you should expect during a furnace installation, it’s important to understand why a properly installed furnace is crucial. Your furnace is the heart of your home’s heating system. If it’s not installed correctly, you could face issues such as poor efficiency, higher energy bills, or even system breakdowns. Installing a new furnace is an investment that can improve comfort, energy efficiency, and safety in your home.
A furnace installation involves more than just placing a new unit in your home—it’s about ensuring that the system is appropriately sized, installed according to safety standards, and connected to the existing ductwork and electrical systems. This process requires skill, precision, and a clear understanding of your home’s heating needs.
Need Furnace Installation in Ontario? Act Now!
Don’t let a failing furnace leave you in the cold. For expert Furnace Installation in Ontario , contact us today to ensure your home stays warm and energy-efficient this winter.
📞 Call Now: +1 (647) 967 4911What to Expect Before the Furnace Installation
Proper preparation is key to a successful furnace installation. Here’s what to expect before the installation begins:
1. Assessment and Consultation
Before anything happens, a professional HVAC technician will conduct a thorough assessment of your home and current heating system. This is typically done through an in-home consultation. The technician will:
- Evaluate your current system: The technician will assess the condition of your existing furnace to determine whether it needs repair or if a full replacement is necessary. They will also inspect your home’s ductwork, airflow, and overall energy efficiency.
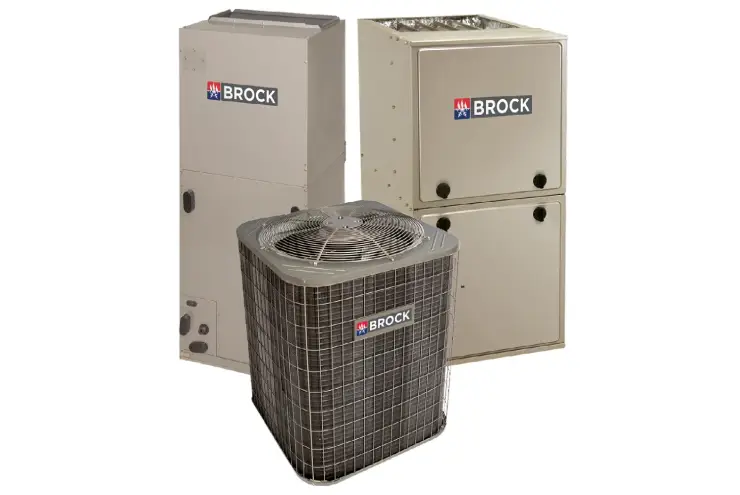
- Recommend the right furnace: Based on the size of your home, energy efficiency needs, and budget, the technician will recommend a furnace that best suits your home. Furnace options include gas, electric, and oil-powered models, each with its own benefits and considerations.
- Discuss budget and financing options: The technician will give you a clear estimate of the installation costs, including the cost of the furnace, labor, and any additional materials. Many HVAC companies offer financing options to make the installation more affordable.
2. Selecting the Right Furnace
Choosing the right furnace is one of the most important parts of the installation process. A furnace that is too small will not adequately heat your home, while one that is too large may lead to energy waste. The technician will help you choose the right size and model based on:
- Home size: Larger homes require larger furnaces with higher heating capacities.
- Efficiency: High-efficiency furnaces, while initially more expensive, can save money in the long run through lower energy costs.
- Fuel type: The furnace’s fuel type (natural gas, propane, or electric) can impact both installation costs and operating costs. If you’re concerned about environmental impact, a gas furnace may be the right choice. However, electric models, while a bit more expensive to operate, are often more environmentally friendly.
3. Scheduling the Installation
Once you’ve selected a furnace, you’ll schedule the installation with your HVAC technician. It’s typically best to schedule the installation during the off-season, such as in the spring or fall, when HVAC companies are less busy. This ensures you get a more flexible schedule and can avoid waiting in line during peak demand months. Many companies will offer seasonal promotions and discounts, especially during these quieter periods.
Make sure to set aside the entire day for installation. While it typically takes between 4 to 8 hours, the process can take longer if there are issues with the ductwork or additional work required to meet code specifications.
What to Expect During Furnace Installation
Now that preparations are complete, it’s time for the furnace installation. This is the phase where the actual work begins. Here’s a breakdown of what you can expect:
1. Preparation of the Installation Site
Before the new furnace is installed, the installation team will prepare the area. This includes:
- Clearing the space: The technician will clear the area around your existing furnace to make room for the new unit. If the old furnace needs to be removed, the team will carefully disconnect it and remove it from the space. This step ensures the area is ready for the new unit and that any debris or old parts are disposed of properly.
- Protecting your home: The team will lay down protective coverings, such as drop cloths, to prevent dust and debris from spreading throughout your home. This helps keep your living areas clean during the installation process.
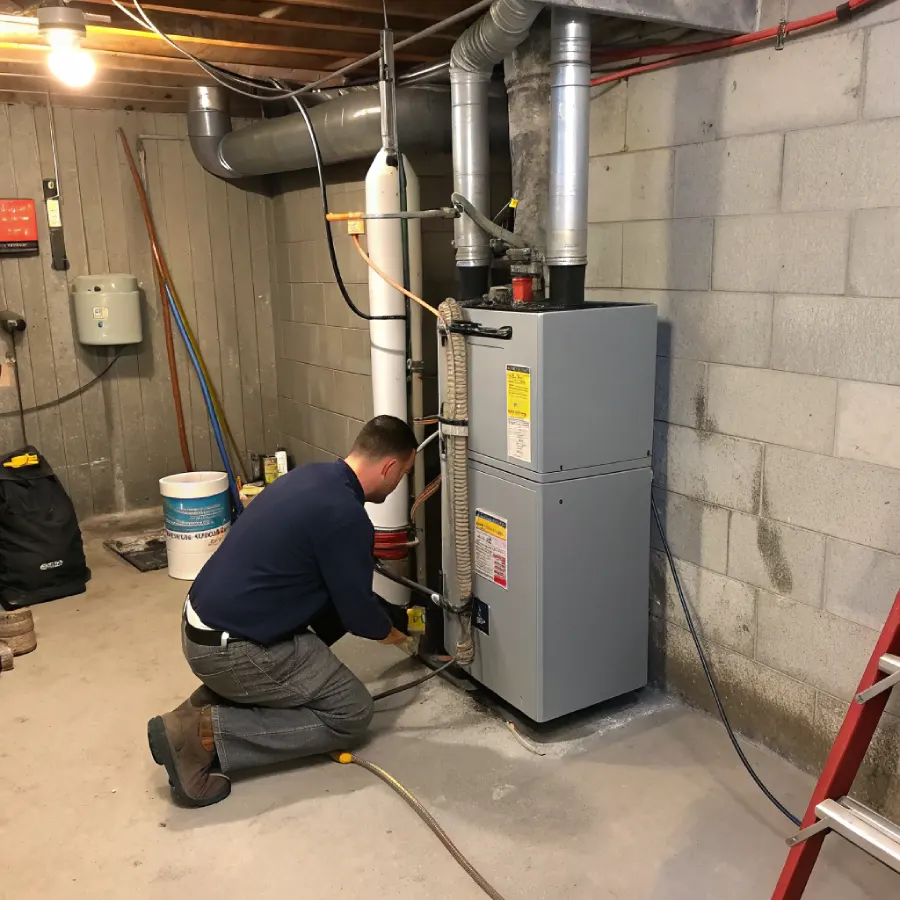
2. Installing the New Furnace
Once the space is cleared, the installation process begins. Here are the main steps that will take place:
- Mounting the furnace: The furnace will be placed in the designated spot, usually in the basement, attic, or utility room. It will be positioned in accordance with local building codes and manufacturer specifications. If the installation site is not optimal for a new furnace, the technicians may recommend modifications to improve the system’s efficiency and accessibility.
- Connecting the fuel source: If you’ve chosen a gas or oil furnace, the technicians will connect the unit to the appropriate fuel lines. For a gas furnace, this involves connecting it to the natural gas supply; for an oil furnace, it involves connecting to an oil tank. These connections must be made with extreme care to avoid leaks, which can lead to hazardous conditions.
- Connecting the ductwork: The furnace will be connected to your existing ductwork to ensure proper airflow throughout your home. If your ducts are outdated, the technicians may recommend sealing or replacing them for optimal performance. Poorly maintained or old ducts can significantly decrease the furnace’s efficiency. The technicians will also check for any obstructions in the ducts that could impede airflow.
- Installing the thermostat: The thermostat is an essential component of your furnace system. It will be mounted in a location that ensures accurate temperature readings and efficient operation of the system. Many modern furnaces come with programmable or smart thermostats that offer greater control over heating and energy use. The technician will ensure the thermostat is installed and properly calibrated to work in harmony with the new furnace.
3. Testing the New System
Once the installation is complete, the technician will test the furnace to ensure everything is functioning properly. This includes:
- Checking for leaks: The technician will inspect gas or oil connections for any potential leaks that could pose a safety risk. Proper sealing of fuel lines and gas connections is critical for safety.
- Ensuring proper airflow: The technician will check that the furnace is circulating air properly through the ducts and that the airflow is balanced. If any air vents are blocked or air pressure is inadequate, adjustments will be made.
- Setting the thermostat: The technician will test the thermostat and calibrate it to ensure that it accurately controls the furnace and maintains the desired temperature. Many new thermostats have advanced features, such as Wi-Fi connectivity, which allows you to control your heating system remotely via a smartphone or computer.
4. Final Inspection and Cleanup
After testing the system, the technician will perform a final inspection to ensure that the installation meets all safety and regulatory requirements. They will also check for any signs of system malfunction.
Once the inspection is complete, the team will clean up the work area, removing all debris and materials used during the installation. You’ll be left with a clean home and a newly installed furnace that’s ready to provide warmth for the coming winter months.
Post-Installation Steps
Once your furnace is installed, there are a few additional steps to ensure that your system continues to run efficiently:
1. Furnace Maintenance
Proper maintenance is key to extending the life of your furnace. Regular maintenance helps ensure the system operates efficiently and prevents expensive breakdowns. After installation, it’s a good idea to schedule:
- Annual tune-ups: A yearly furnace checkup is crucial to ensure the system is operating at peak performance. This includes checking the heat exchanger, cleaning the burner assembly, inspecting the combustion chamber, and ensuring the blower motor is working properly.
- Filter replacement: The air filter should be checked and replaced regularly to maintain airflow and efficiency. Depending on the type of filter you use, this should be done every 1-3 months.
- Professional inspections: Have your furnace inspected by a professional technician at least once a year to ensure that everything is functioning properly. Regular professional maintenance can prevent major issues and help extend the lifespan of the furnace.
2. Energy Efficiency Tips
To ensure your new furnace operates efficiently, there are several energy-saving tips to follow:
- Keep the thermostat at a steady temperature: Avoid constant adjustments to the thermostat, as it can cause the furnace to work harder than necessary. Maintaining a consistent temperature will help the system run efficiently and reduce wear and tear.
- Insulate your home: Proper insulation helps keep warm air inside, reducing the load on your furnace. If your home isn’t properly insulated, you may be losing heat through windows, doors, and walls. Consider upgrading your insulation to save on energy costs.
- Use ceiling fans: Ceiling fans can help distribute warm air more evenly throughout your home, allowing you to set your thermostat a few degrees lower. Fans push warm air down from the ceiling, which can help maintain a consistent temperature throughout the room.
- Regularly check your ductwork: Ensure that your ducts are sealed and in good condition. Leaky ducts waste energy by letting warm air escape. It’s best to have a professional inspect and seal any leaks in the ductwork to optimize efficiency.
Benefits of Furnace Installation
Installing a new furnace offers several benefits, including:
- Improved energy efficiency: Modern furnaces are far more efficient than older models, helping reduce your energy bills. High-efficiency furnaces are designed to convert more fuel into heat, reducing waste and lowering your utility costs.
- Better air quality: Newer furnaces are equipped with better filtration systems that improve indoor air quality by removing dust, allergens, and other pollutants. High-efficiency filters also help maintain a cleaner living environment.
- Increased comfort: A properly installed and functioning furnace ensures your home remains at a consistent, comfortable temperature. Newer systems are quieter and more reliable, providing consistent warmth without the noise or hassle of older systems.
- Reduced repair costs: By installing a new furnace, you avoid the high costs associated with frequent repairs on an old system. Furnace replacements are often more cost-effective in the long run, saving you money on maintenance and repair bills.
Conclusion
Installing a new furnace is an important investment that can increase the comfort and energy efficiency of your home. By understanding what to expect during the furnace installation process, you can make informed decisions that ensure a smooth and hassle-free experience. From selecting the right furnace to post-installation maintenance, the key to enjoying reliable heating all winter long lies in proper installation and care.
If you’re ready to upgrade your heating system, be sure to consult a professional HVAC technician to guide you through the process. Their expertise will help you choose the best furnace for your needs and ensure that it’s installed to the highest standards.
Frequently Asked Questions (FAQs)
1. How long does a furnace installation take?
A typical furnace installation usually takes between 4-8 hours, depending on the complexity of the system and any necessary upgrades to ductwork or electrical connections.
2. Will I need to replace my ductwork when installing a new furnace?
Not necessarily. If your existing ductwork is in good condition, it can often be reused. However, if there are leaks or significant wear and tear, your technician may recommend replacing or sealing the ducts for better efficiency.
3. How do I know if I need a new furnace or just a repair?
If your furnace is over 15 years old, requires frequent repairs, or no longer heats your home efficiently, it may be time for a replacement. A professional HVAC technician can assess your system and give you a recommendation based on its condition.
4. What size furnace do I need for my home?
The size of the furnace depends on several factors, including your home’s size, insulation, and local climate. A technician will perform a load calculation to determine the proper furnace size for your needs.
5. How often should I replace my furnace filter?
It’s generally recommended to replace your furnace filter every 1-3 months, depending on the type of filter, the number of occupants in your home, and whether you have pets or allergies.